
OneNote
OneNote will record a lecture and convert it to text. OneNote also has the functionality to then read the text back in audio format.
Prior to using OneNote to record a lecture, both the student and professor must review and sign the “Agreement for Recording Lectures” and “Signed Audio Recording Agreement”. The document is available through Accessibility services.
To get started, Access OneNote through the app in Microsoft 356
![]()
Click on New notebook

A text box will open and will allow you to name the notebook. For example, the notebook could be named “Biology 101” (the name of the class you intend to use this tool for).
Click Create
This opens up the “notebook” titled Biology 101.
If this is the first time you have accessed the notebook titled Biology 101, the following message will appear.

Follow the prompt to either press ENTER or click on the link. This will allow you to name a section of the notebook. For example, you may name the section “first semester”.

You then have the option to name the page. For example, you may name the page the date of the class and/or the class number.

Move the cursor into the body of the document and click on the microphone found on the top right of the page. This will activate the recording function. The microphone will turn red and will indicate it is “listening”. When you are done recording, click the microphone again.
![]()
OneNote continuously saves the document to the cloud as it is being recorded.
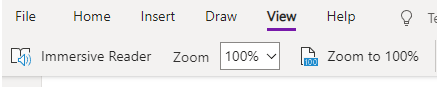
If you would like the content of the recording to be read back to you, click on View at the top of the page and then Immersive Reader.
You will find your saved “notebooks” on the OneNote home page under “My notebooks”.
Last Modified: 8/12/25 10:44 AM | Website Feedback