Reduce Image File Size
Why File Size Matters
While a larger file size may be better when it comes to ensuring a high-resolution experience, bigger is NOT better when you consider page load time. Page load time is one of the main factors in Google’s Core Web Vitals algorithm. Due to this, make sure your largest image file size is no greater than 300kb.
If you’ve got plans to put more than one image on your webpage, each image file size will add on to the total page size. Large file sizes, and multiple files, will affect site performance and page loading times.
How to Check the File Size
On Windows:
- Right click on the image file
- Click Properties
- View the "Size" property (Not the size on disk property)

On Mac:
- Hold "Control" on your keyboard and click on the image file
- Click on "Get Info"
- View the File Size next to the image dimensions

How to Reduce File Size
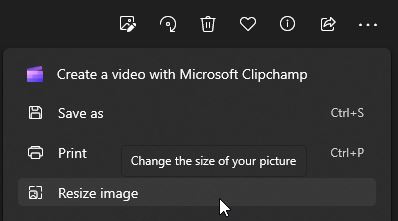
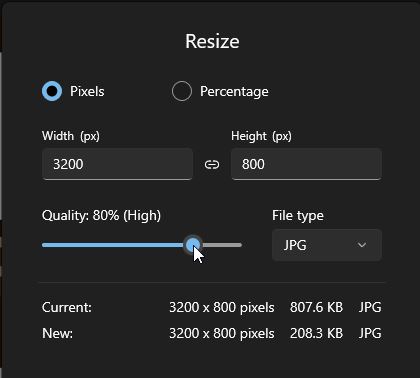
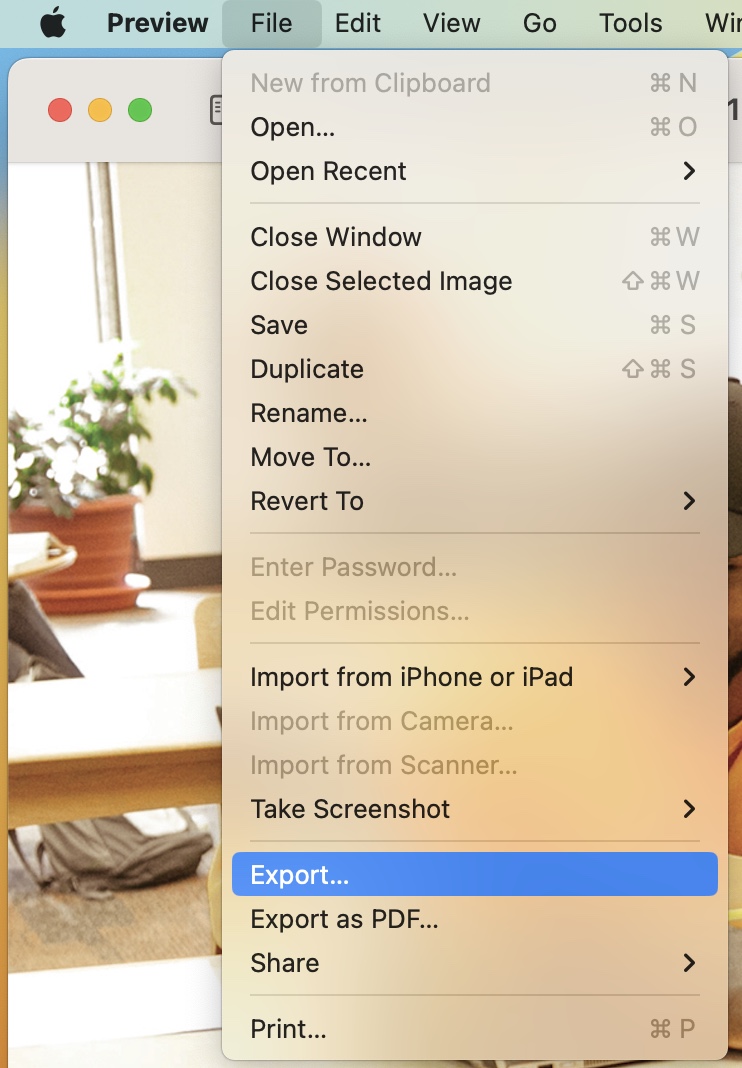
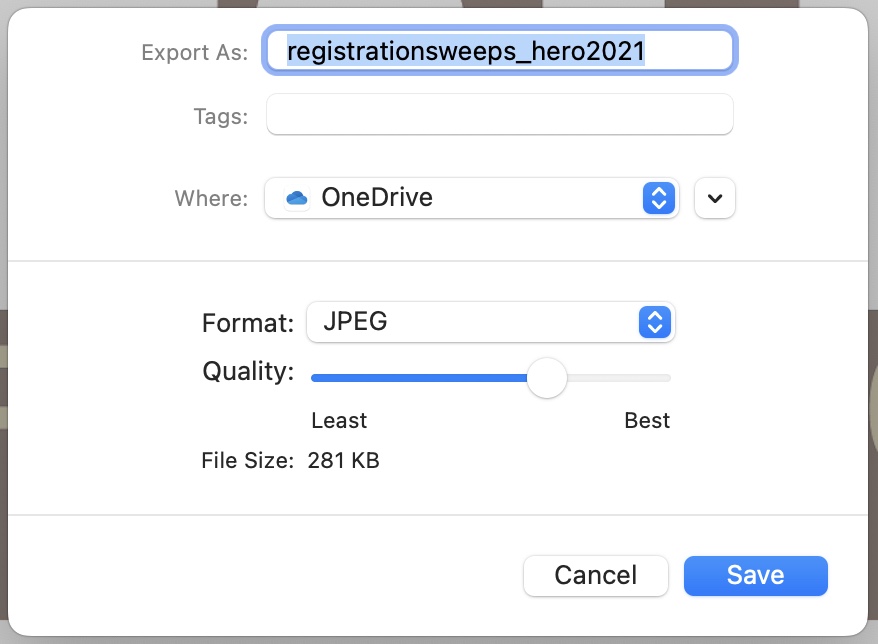
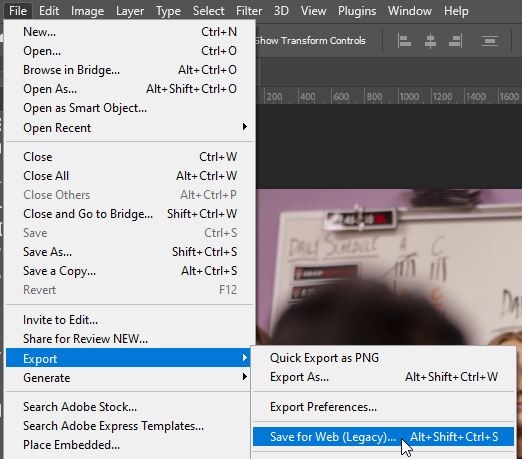
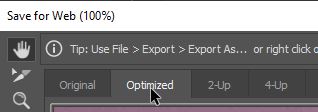
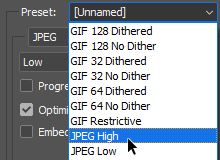
Below are some step by step walk-throughs on how to reduce the file size of your images without reducing the dimensions. This essentially compresses the image and some quality loss may occur but is generally minor depending on how much compression you use.
For the SMSU.edu website it is recommended to keep your image file sizes less than 300kb. The smaller the better. Keep in mind, if you upload a large image you are actually costing the viewer bandwidth that translates into money for people not having an unlimited data plan.
Additional Image Resources
Last Modified: 11/9/23 12:07 PM | Website Feedback


